Whether you’re surviving or homesteading, sewing is an essential skill many take for granted.
In the days, years, and months in a post-collapse society, finding and repairing clothing will be a necessary part of your long-term survival. Clothing provides a critical barrier between us and our environment. Further, sewing is essential for maintaining shelter and the materials for hunting and gathering. In this blog, we give you a starting point for developing your sewing arsenal for survival.

Learn to make thread from your local plants
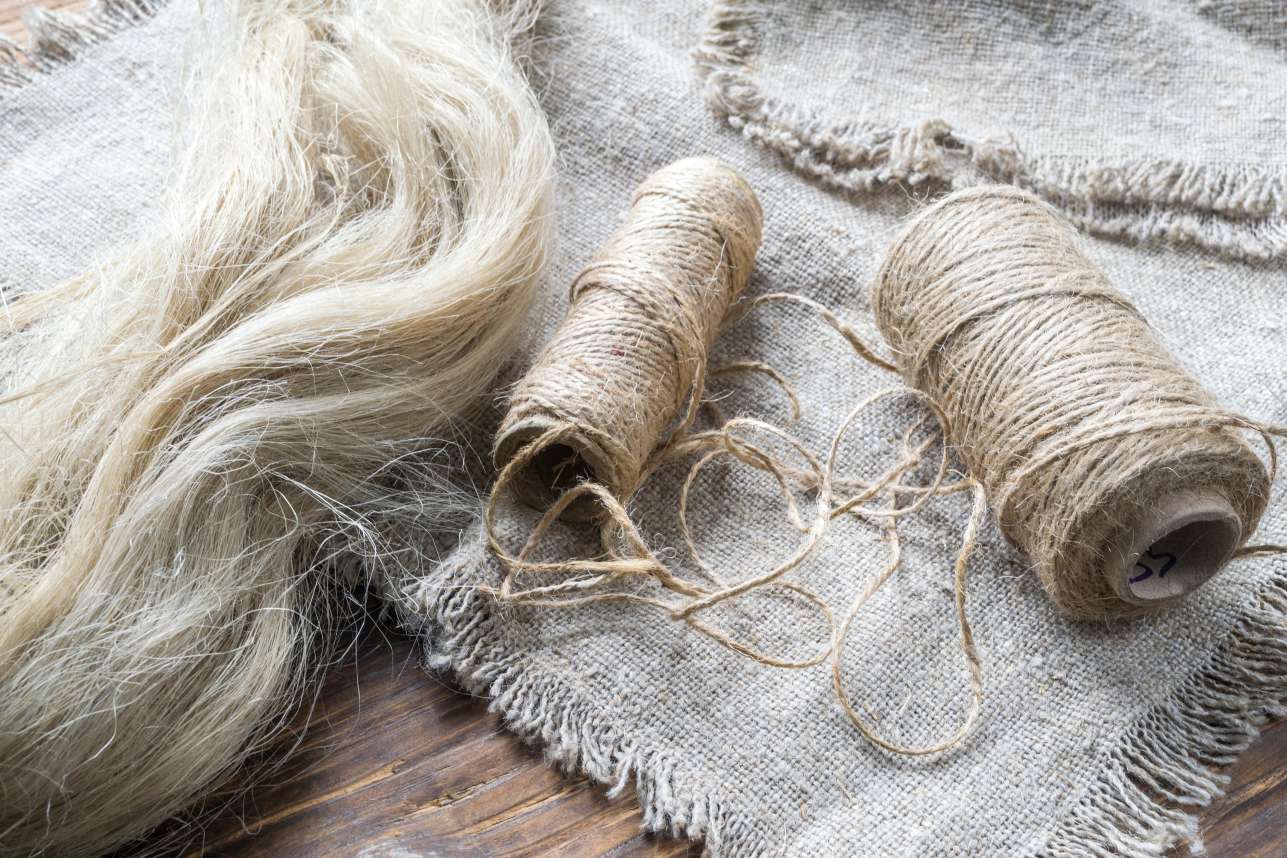
Thread is a prehistoric human invention that greatly advanced the quality, durability, and fit of clothing through the centuries. Originally made by breaking down fibrous plants like Flax, Stinging Nettles, Milkweed, Yucca, cotton, reeds, grasses, and more. From straight cordage to fine linen, these plants can make a wide range of durable and sustainable textiles.

While you can also recycle threads from an item of otherwise unwearable clothing or use the threads from essential survival paracord, learning to make fibres is a necessary skill for long-term survival. Many plants contain fibrous material that can be accessed by breaking down the leaf or stalk of the plant with a rock, pestle, or carved thick wooden branch. Once flattened, remove the woody materials. Begin to scrape away the green plant material until the threads are visible. In the past, sharp flint was used to break down and scrape fibres. Leave some green material on the threads and allow them to dry. Soften the dried bundles in your hand or on a wire brush. These threads are then ready to process into cordage (by spinning and braiding together at least two distinct groups of threads) or thread by using a drop spindle.
5 essential sewing techniques to master for grid-down.
1. Closure repair
Whether you are fixing zippers, buttons, or snaps, this is a critical skill for keeping clothes in good condition for as long as possible. Closures are often under significant stress compared to the rest of a garment, so they will frequently need repair first.
-
Buttons & Snaps
Thread the needle with a knot at the end. Take the button or snap + follow the original holes as a guide for re-attaching. Pull the needle through the fabric and up through the first buttonhole. Continue threading through each of the button holes to match the existing buttons. To finish, loop the string around the base of the button a couple of times, create a lasso knot, and pull tight. This reinforces the button for extra strength.
-
Zippers
Zippers can be a little more complicated to repair. Still, many problems can be solved by lubricating the zipper with a candle, adding a makeshift zipper pull, tightening the zipper slider with pliers, or removing the slider and replacing it.

2. Seam repair
When clothing is under duress, the seams are often one of the first areas to wear down. A seam can be repaired by three main hand stitches:
-
Whip Stitch
Perfect for delicate fabric, but not as easy to do as a running stitch. In a wilderness setting, this might be ideal for repairing cheesecloth, sports clothing, or mending the edge of a wool blanket.
-
Running Stitch
The easiest stitch to do. This is great to repair exposed seams or for a sturdy repair on thicker fabric and can be accomplished with crude threading supplies.
-
Backstitch
Easy to do and more secure than a simple running stitch. A back stitch essential goes two steps forward and one step back, providing a durable, discreet stitch that can hold up to a rugged environment. It can also be accomplished with crude sewing materials.
3. Hemming
If you have to scavenge for clothing, you may find ill-fitting things. Hemming is the best way to allow clothing to be useful for an extended period; this is especially the case for children as they grow in a world where potential clothing is sparse. To effectively hem a garment, you will need straight pins –– the bonus is that these are abundant and can be incredibly useful in several survival situations. A Slip Stitch or Fell Stitch are both relatively easy and durable ways to hem anything from pants to shirts.
4. Darning
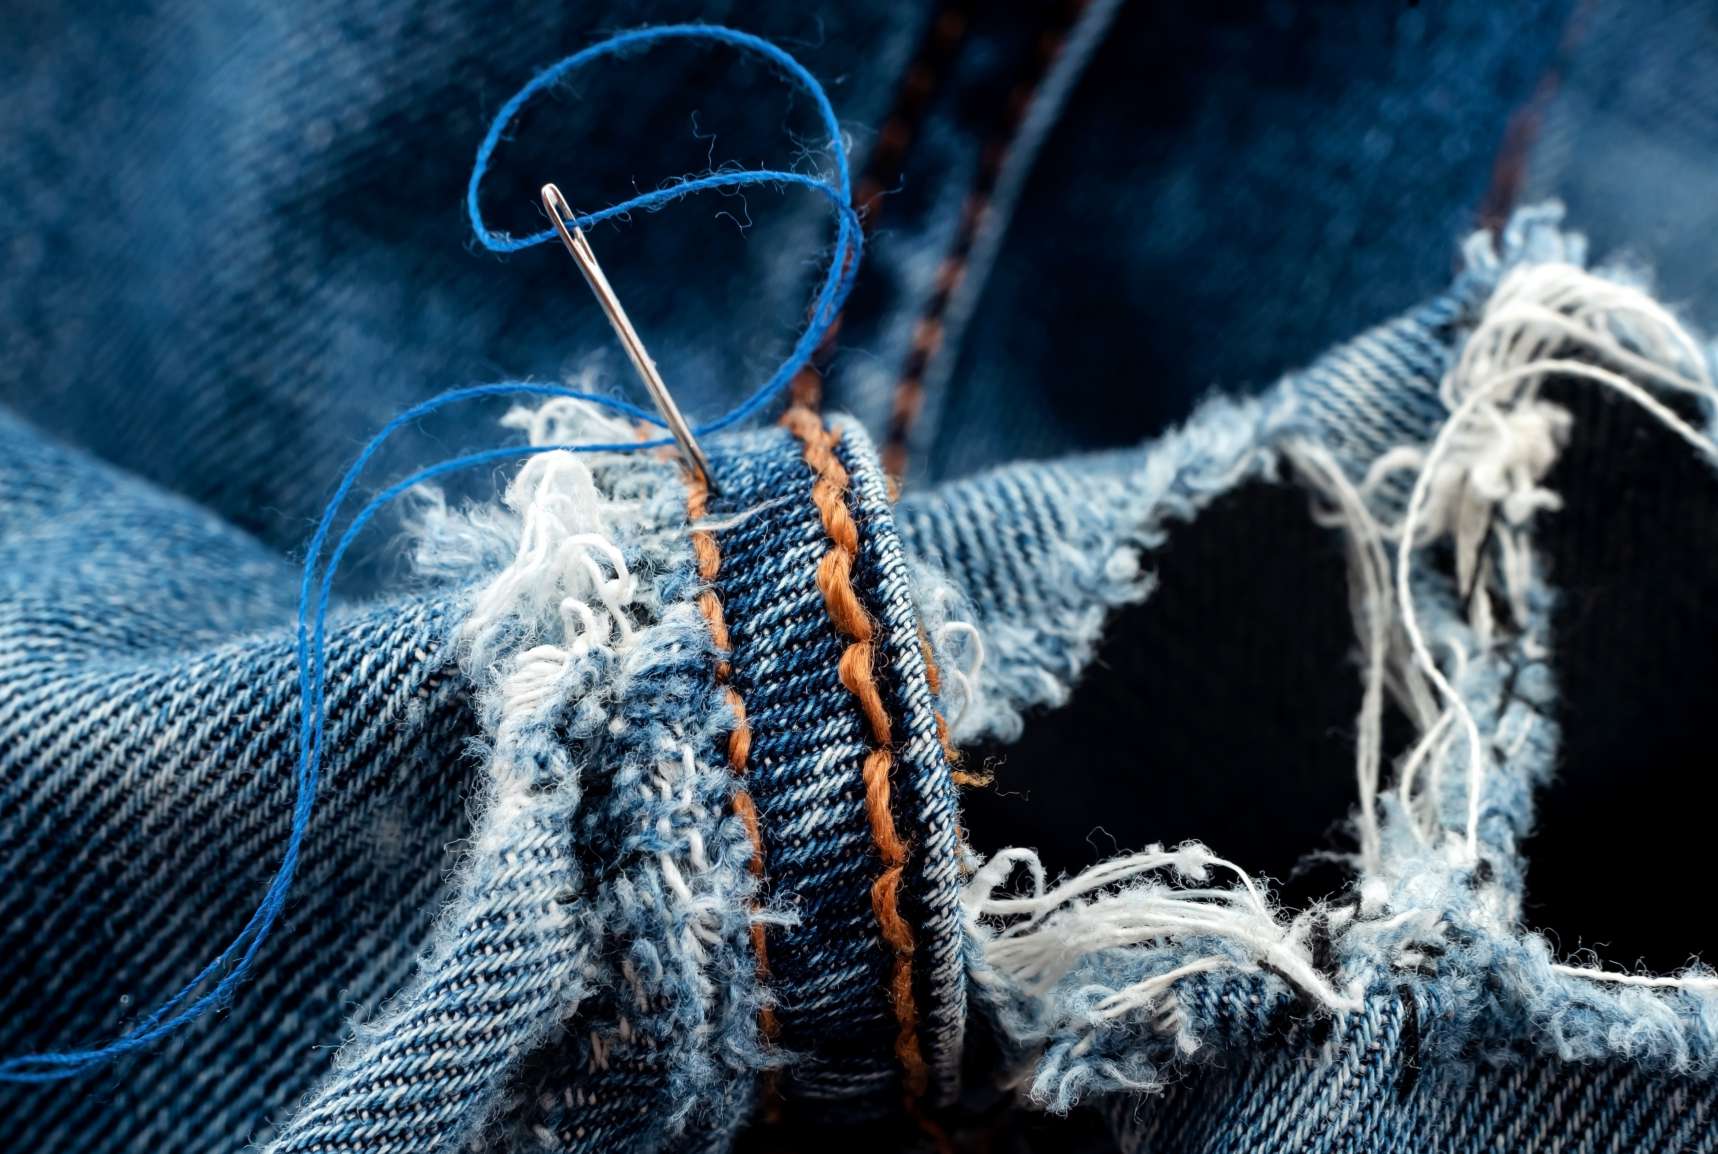
Darning is an age-old practice that extends the life of fabric by repairing large holes. This style of hand-stitched garment repair is typically useful on knits and woven fabric. It can be used to repair anything from blankets, mittens, sweaters, and socks.
Start with a thread similar to the item being repaired –– wool for a wool blanket and light threads for a cotton shirt. Sew a simple in-and-out running stitch in a circle around the hole. Once that is complete, begin to weave through and over the hole. The goal of darning is to repair the hole and reinforce around it so that it does not tear again. A darning egg is particularly useful, but you can also use a round stone, an embroidery hoop, or a similar object.
5. Patching
Patching holes is done similarly to darning but with the addition of spare fabric of a similar weight to fix a particularly large hole. Patching is particularly useful in high-stress areas like the crotch or knees of pants or the elbows and armpits of sweaters and jackets. The key to a successful patch is the create the patch larger than the hole so that it is attached to the intact and healthy fabric and then beginning to stitch inward, ensuring the frayed edges are sewn down to avoid future tears. 
How to build your survival sewing kit.
If you’re prepping a sewing kit for long-term survival, several supplies will be needed. From stitching a wound to darning a sock, these supplies will be critical to your continued survival in any situation.
- Variety of threads in different weights and strengths
- Sewing needles in a variety of strengths and sizes
- Patching kits for tents, tarps, sleeping bags, and hammocks
- Spare fabrics for patching
- Straight pins for fast repair + sewing seams and hemming
- Small scissors for threads
- Stitch pick
- Thimble to protect fingers + prevent injury or infection
- Flint arrowheads for processing natural fibre
- Drop spindle for creating the thread
- Darning egg
- Hoop for mending + patching
Whether you’re bugging out or homesteading, sewing is a key skill for any survivalist.
Trying to incorporate survival skills into your daily life is the ticket to success after the collapse. Just like strength building or food stockpiling, sewing is a necessary practice that will help you build a sustainable life. From clothing to shelter, you will be protected from the elements long into the future by mastering the art of mending and repair.


