Fire is arguably the most quintessential component of survival and one of the most important discoveries of humankind. Whether you are camping leisurely or surviving in the backcountry, knowing how to build a campfire is an essential skill. We’re going to tell you about six fire set-ups that are optimal choices for winter camping and the best situations to use each in. Check out our gear list at the bottom to make sure you have everything you need, when you need it most.

Need to know terms:

1. Kindling
This term refers to any ignitable material, usually small sticks or pieces of cut wood, that's larger than tinder.
2. Tinder
This is small and quickly burning materials such as bark, dried pine needles, and grass. These materials ignite and burn quickly making them a useful fire starter.
3. Deadfall
This refers to trees that have fallen in nature. Depending on how they’ve fallen, if you’re in an emergency situation with no seasoned firewood, this will make a great option for firewood. Ensure that you choose wood that is dry and hasn’t begun to rot.
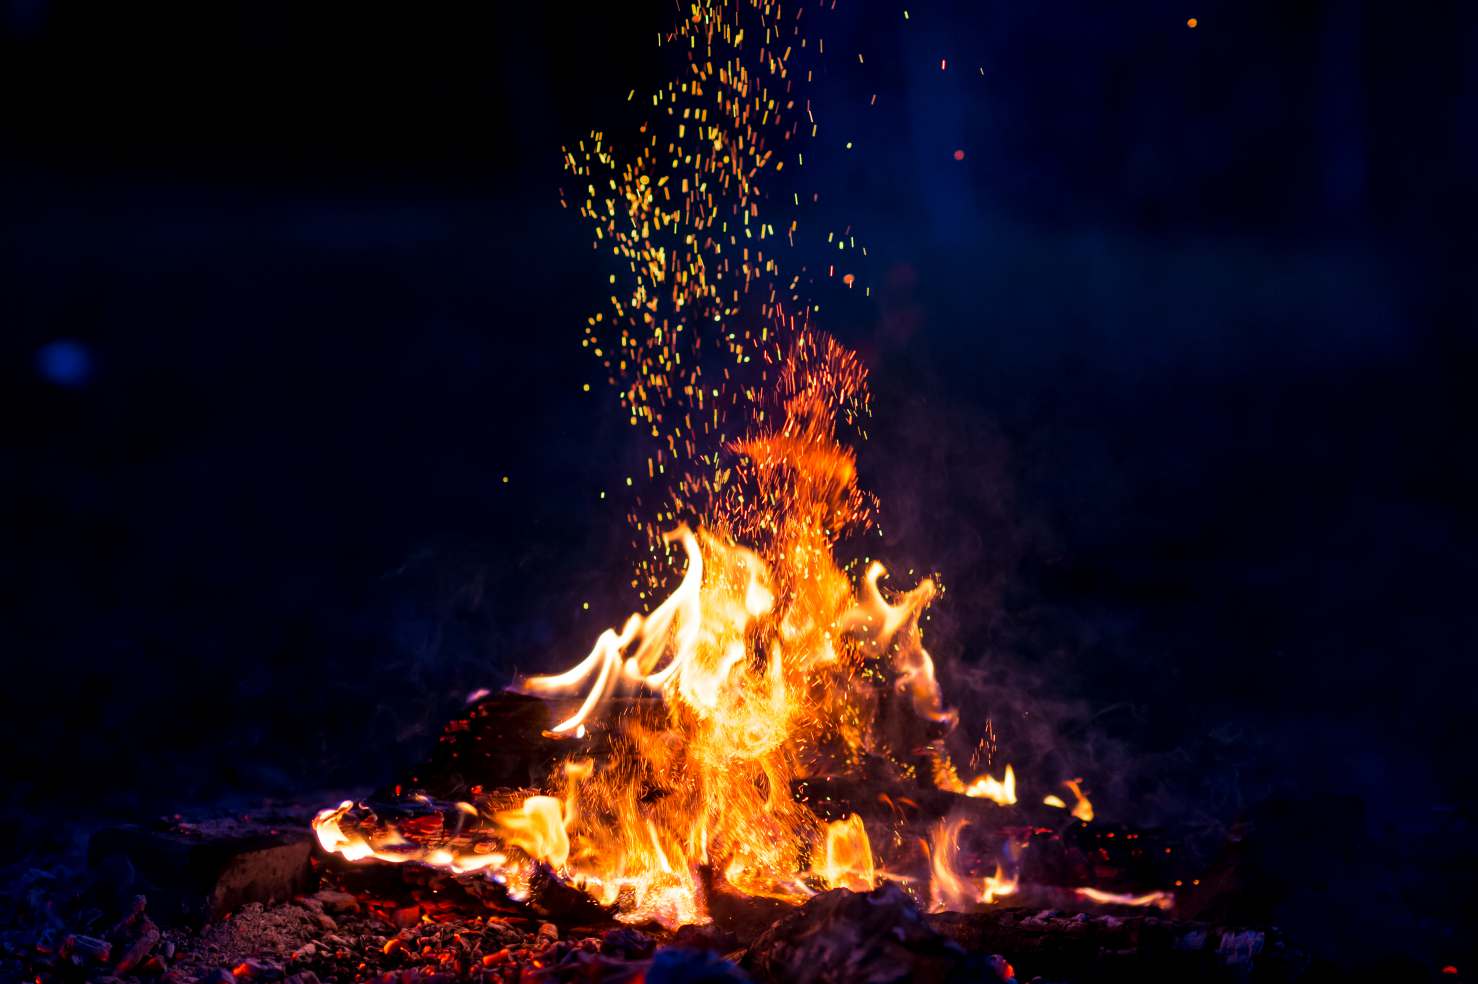
How does fire actually work?
Fire consists of three simple components: heat, fuel, and oxygen. Fire describes the entire chemical process of heat, fuel, and oxygen combining and not simply the flame we see. If you take away any of these three components, or these components are not balanced properly, you will not have the resulting flame. Learning about what makes a good fire, and how to build one without a lighter or match is a critical skill for any survivalist.
When building your fire, ensure you use dry materials when possible and ensure you have lots of accessible oxygen. If you follow these simple rules you will always have a strong and clean burning flame. Remember, when you're alone in the wilderness your warmth should be your top priority.
6 easy winter campfires & how to build them
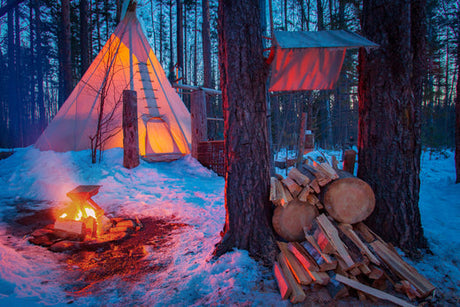
Tipi Fire

This fire is very intuitive and easy to construct. It requires the least amount of preparation and the least amount of skill of all the fire types we will discuss. This style of campfire is easy to ignite and provides a high heat output, which will make it especially beneficial if you need to warm up quickly.
Steps:
- Put down spruce boughs as a platform on top of snow
- Add tinder to the centre
- Use kindle on the inside and small logs on the outside to build up a tipi structure
- Light from the centre
The Canadian Candle / Swedish Fire Torch

This campfire requires more intricate workmanship but is one of the most efficient and long lasting fire set-ups. You can leave this fire and collect wood or food, and the set up makes it convenient for cooking as well, as it has a flat top. This style can be challenging to set up and light, but is very low maintenance and long burning once it is going. Pro tip: ensure you have extra tinder on hand to help with the lighting process.
Steps:
- Quarter a large, dry log
- Remove the centre and keep to use as kindling
- Reassemble the quarters using two twigs formed into an X to keep the quarters separated
- Tie around the reassembled log with heavyweight wire, string, or paracord
- Fill with kindling and tinder, ensuring good airflow
- Light from the top and the flame will work its way down
Top Down Fire

This layered fire has the benefit of not needing a dry base as it will be burning very strongly by the time it reaches the lower logs. This fire will burn slowly while it moves down the tiered layers, making it low maintenance and easy to light when there is snow or damp logs. It is important to use only slightly larger logs as you build the layers; if you use logs that are too large too fast, they will not catch and the fire will burn out.
Steps:
- Take larger logs and lay them slightly spaced in a platform, using three to four logs per layer
- Build alternating horizontal layers in decreasing sizes adding tinder along the way (like building Jenga blocks)
- After about four layers you should be getting to kindling sized wood
- Put tinder and kindling on the top centre and light it up
Log Cabin Fire

This is a bit more of a novelty than a practical fire, as it takes a long time to set up and burns fast. If you’re having a bonfire with friends or out at the cabin, this is the appropriate place for a fire like this – as opposed to a survival situation. This fire is easy to light as the kindling and tinder are placed in the centre and the ‘cabin’ structure is built around it.
To make this more efficient, you can combine this style with the top down fire to create a longer burning flame, but both of these styles take extra time to build.
Steps:
- Put down pine boughs if this is being built on a wet surface
- Lay logs in a wood cabin pattern (perpendicular around a centre)
- In the centre, use kindling and tinder to build a core
-
Light from the centre
Star Fire

This low maintenance and long burning campfire builds on the tipi structure by adding several long logs extending from the centre to form a star. As the centre tipi structure burns, you simply push the longer logs to the centre until they are expended. This campfire style is also extremely quick to set up, allowing you to save your precious energy. The downside to this fire is that its heat output is low, so if you are cold and in an open winter setting, choose a faster burning, high output fire instead.
Steps:
- Create a dry platform with pine boughs
- Choose 3-6 logs and lay them so that one end is facing the centre and one end is facing away from the flame; it will resemble a star pattern
- Build the tipi structure in the centre using tinder in the centre and kindling and small sticks
-
Light the tinder in the centre
Lean-to

This is the best survival fire of the six we’ve listed here. This structure allows you to use wet wood if necessary, as well as provides wind protection, is easy to set up, and has a high heat output. If you’re in a pinch and the conditions are windy or damp, this is the fire set-up that will benefit you most.
Steps:
- Lay down your dry platform
- Stack larger log(s) on one side
- Lay the tinder in the centre and lean the kindling against the larger logs
- Light the tinder and add kindling to the lean as the fire grows, this will dry the larger logs in the process allowing them to ignite as well
The Canadian Prepper essential gear list for fire starting: